

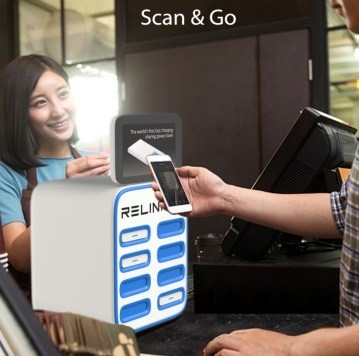
Step 1 – Scan the QR Code: Every Relink powerbank station comes with a prominently displayed QR code. It’s the magic key to access a power bank. To begin the rental process, all you need to do is to scan this QR code using your phone’s camera.
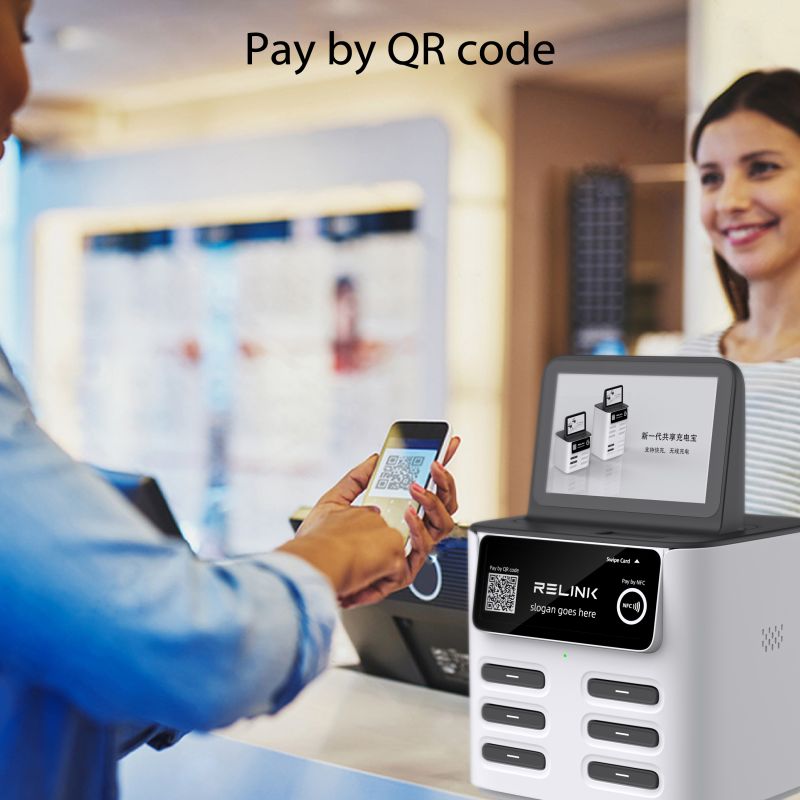
Step 2 – Follow the Link: Upon scanning the QR code, a link will pop up on your screen. Tapping this link will automatically launch your web browser, redirecting you to Relink’s appless rental page.
Step 3 – Get started: Continue with phone number or log in with Google or Apple accounts. If you continue with phone number you’ll get a confirmation code.
Step 4- Initiate the Rental: Now, you’ll be prompted to choose your preferred payment method. Relink uses robust security measures to ensure your financial data remains safe and secure.
Step 5 – Unlock your Powerbank: Once your payment method is set, you click the Start rental button and the station will unlock a powerbank! It takes a few moments but when the light next to a powerbank in the station starts blinking, the powerbank is released!
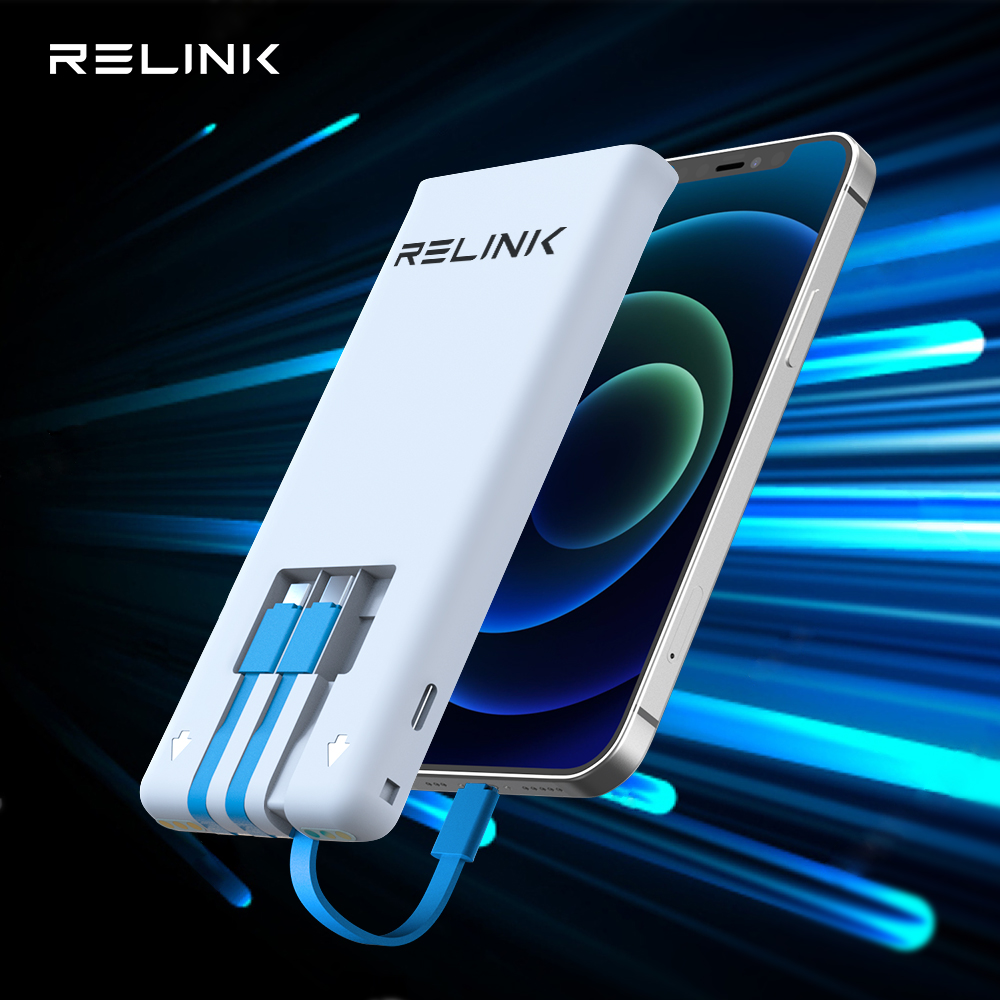
Step 6 – Charge: Pick up your unlocked power bank, connect it to your device using one of the provided cables (Micro USB, Type-C, or an iPhone Lightning cable), no need to hit the on-button on the side to start charging. Voila! Your device is now juicing up, saving you from a potential digital disconnect.
Step 7 – Return the Power Bank: After charging your phone or any other device, you might want to end your rental. You can do this by simply returning the power bank to any Relink station. This means you won’t have to return to the same station as you rented the power bank from! Just return to the closest Relink station. Now you might want to get the app to see all Relink stations around the world and to have an even smoother experience next time you charge with Relink.
Post time: May-16-2023